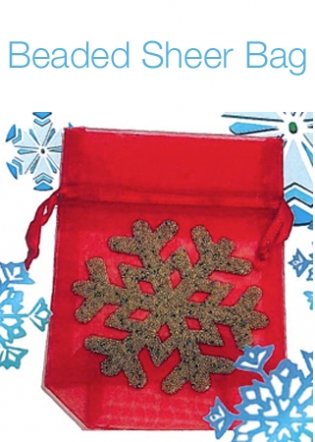
Christmas Kiss'Ems
Click here to download project sheet.
MATERIALS
SUPPLIES
Darice 7 Mesh Plastic Canvas • 77613901
(1 sheet makes 16 Kiss ‘ems)
1 Skein Red Heart Super Saver - Cherry Red • 7764024
or Hunter Green for elves • 77640458
1 Skein Red Heart Classic - White • 77640573
or Café Latté for elves • 30044709
1 Skein Red Heart Classic - Black • 77640581
1 Skein Red Heart Classic - Buff • 77640441
TOOLS
Scissors
Darning/Tapestry Needle • 30060870
DIRECTIONS
TIP: Use Hershey’s Kisses and make a gift tag with cute phrase:
“If you squeeze my cheeks, I’ll give you a kiss!”
INSTRUCTIONS:
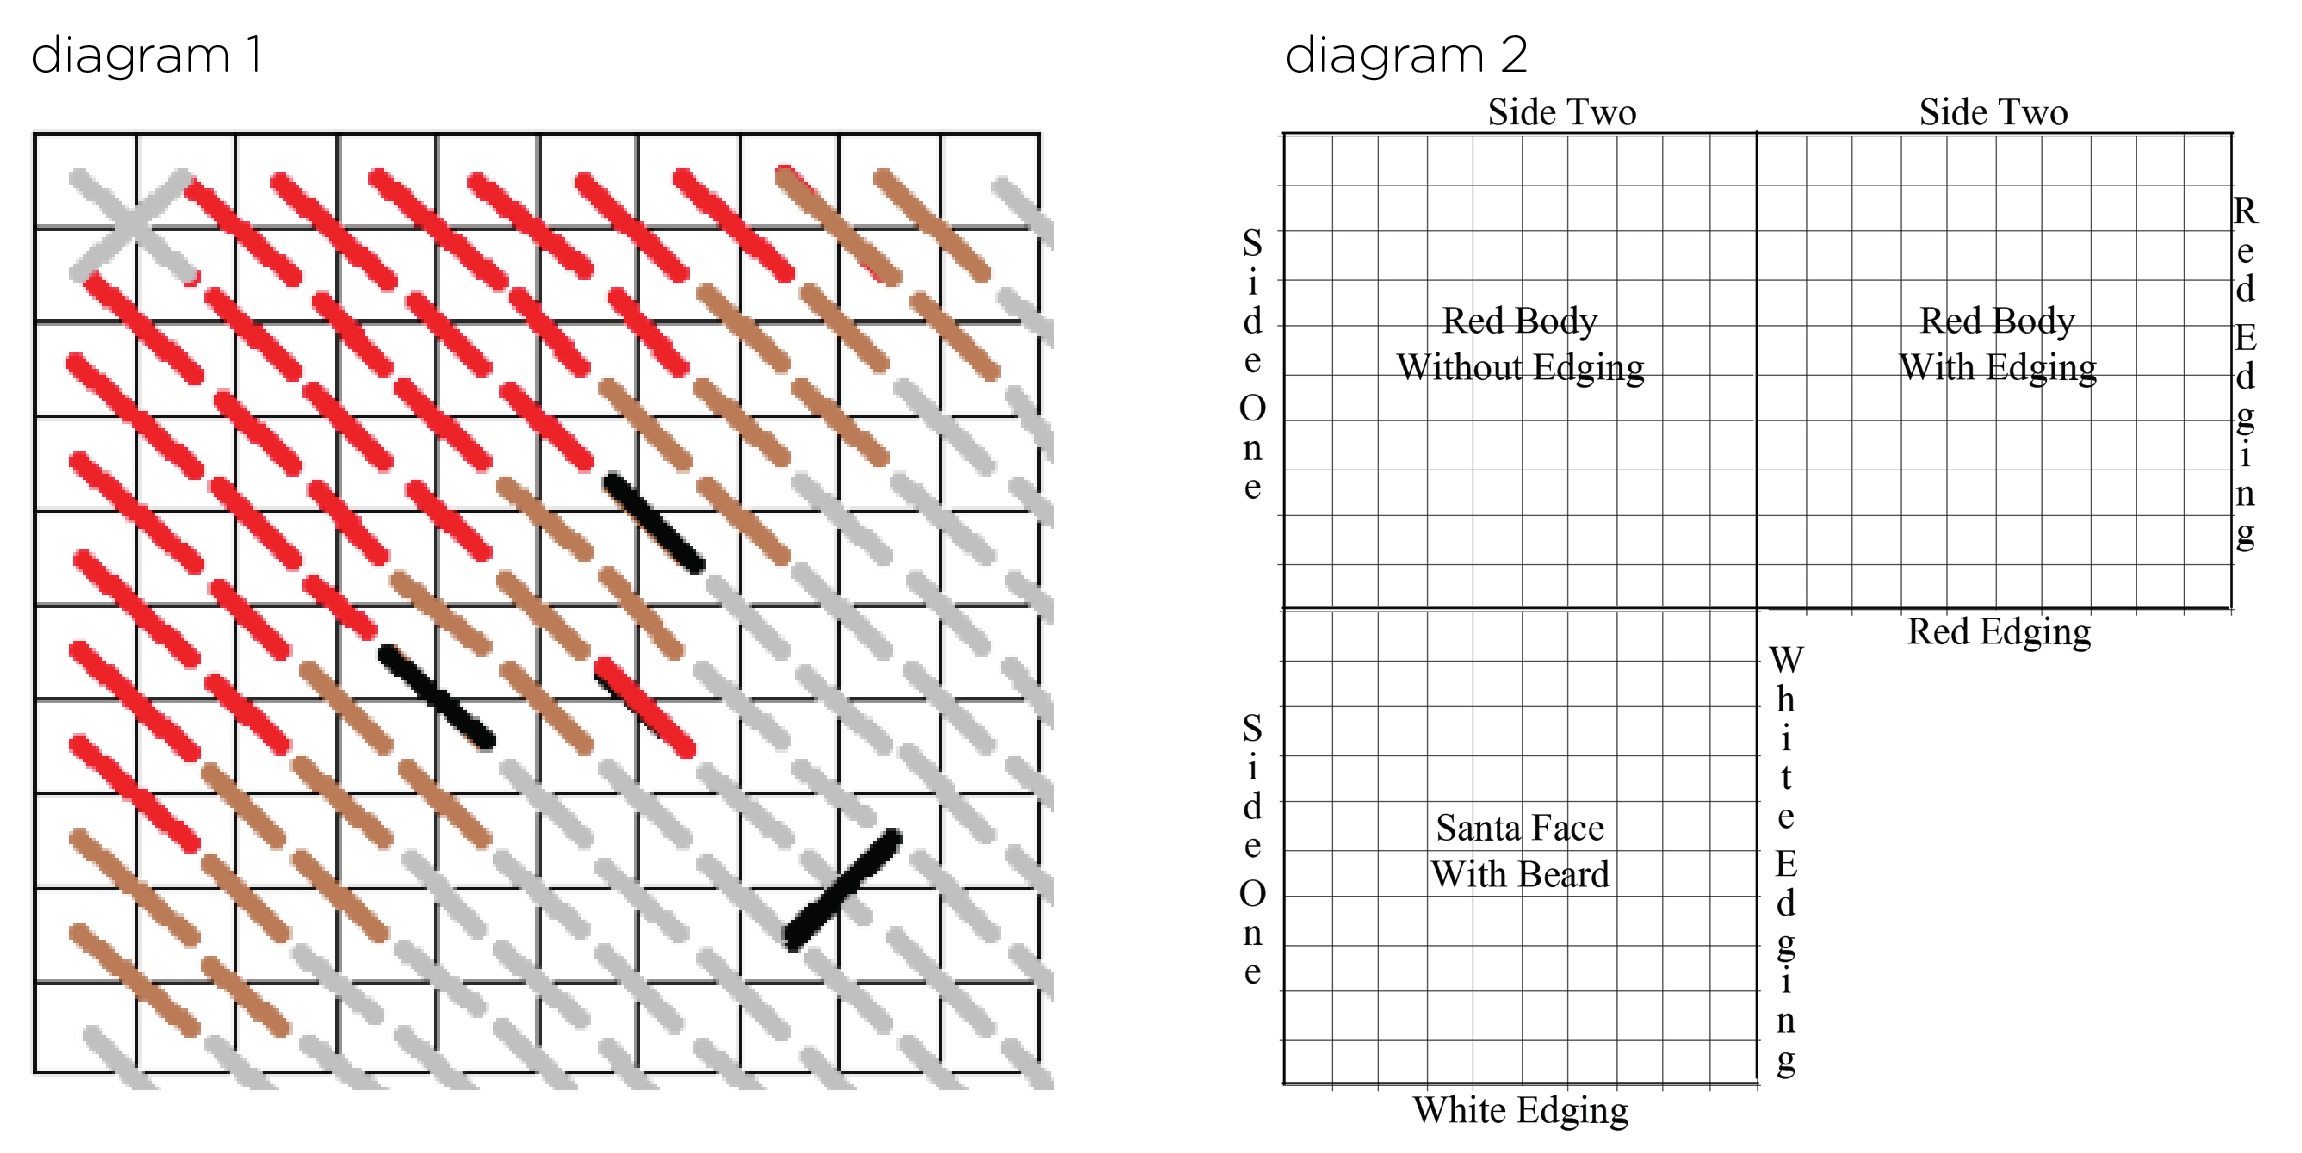
1. Each Kiss ‘em consists of 3, 10x10 squares, so you will have plenty of squares to make Santa’s and/or Elves. So mix it up and have fun with it!
2. Cut plastic canvas sheet into strips that are ten holes wide. Then cut the strips into squares that are 10x10.
3. Next, measure and cut your yarn into strands of 3 yards. You will need 1 yard per square, plus 1 yard for each facial color.
FOR SANTA:
(3) 1-yard strands of Cherry Red
(1) 1-yard strand of White
(1) 1-yard strand of Black
(1) 1-yard strand of Buff
FOR ELF:
(3) 1-yard strands of Hunter Green
(1) 1-yard strand of Café Latté
(1) 1-yard strand of Black
(1) 1-yard strand of Buff
4. Start with your single face square, thread your needle with your body color. Beginning with the top corner, insert the needle through the first hole (this will will be a back to front stitch). Pull the yarn through until there is approximately one inch of yarn hanging in back of the canvas. Then, going from front to back, you will insert your needle into the next hole (down 1 and over 1). As you continue along, following the included pattern/chart (see diagram 1), you will ensure that you are stitching around your tail to secure (and hide) it into your project.
5. Once you have reached the end of the pattern, take the needle and weave it under the last row of stitches to secure the tail. Then cut the excess yarn.
6. To create the edging on Santa’s beard, simply enter the needle into the holes from the same side of the canvas for each stitch of the border (i.e. if your last stitch was front to back, continue the rest of the stitches from front to back only).
7. Complete the first solid color in the same fashion, ensuring to put a border on one corner (two perpendicular sides). Weave in the tail end, and cut the excess.
8. For the last square, leave all edges bare and DO NOT weave in ends. Using the tail, begin sewing the squares together to form an “L” shape as pictured (see diagram 2).
9. Finally, sew together sides labeled (SIDE ONE) followed by sides labeled (SIDE TWO).
10. To turn Kiss ‘em into an ornament, weave tail through edging to top corner and tie tail into loop. Insert candy and share the Holiday Joy!
SHARE: